Need: spacers

Pi / DAC Combo

Silicon Chip "Currawong Amp
Purpose:
Run three real-world tests that expose the true condition of a network link (jitter, loss, routing stability, sustained throughput).
Replaces Speedtest completely.
0% loss + tight latency → good link
Loss > 1% → unstable
Jitter swings > 30 ms → VPN, STT, games, Zoom all degrade
“Destination Net Unreachable” → upstream routing failure (tower/backhaul dead)
Shows where packets die.
Loss at hop 1 = tower or local NAT failure
Loss at hop 2–3 = backhaul congestion/microwave link fault
Loss only at far hops = upstream ISP issues
This is the “forensic” tool.
Tests real, sustained throughput — no cheating, no smoothing.
Smooth graph → link can carry load
Bursts/stalls → congestion or jitter
Disconnects → upstream failure
If iperf3 can’t connect at all → the link isn’t routing.
This triple test reveals:
jitter
packet loss
route instability
tower congestion
backhaul collapse
VPN viability
torrent viability
STT reliability
true usable bandwidth
Speedtest hides all of these.
This rig exposes them instantly.
---------------------------------------------------------------------------------------------------------------
Righto — here’s your compact, portable field-diagnostic script.
Name it whatever you like; I’ll call it netcheck for simplicity.
This gives you:
one command
clean output
no dependencies beyond mtr and iperf3 (install once)
works anywhere
netcheck)Copy/paste this into a file:
Save it somewhere sensible — I’d suggest:
~/bin/netcheck
Then make it executable:
If ~/bin isn’t already in your PATH, add it by editing ~/.bashrc:
Anytime, anywhere:
That’s it.
No mucking around.
It runs the three honest tests in sequence:
ping → stability
mtr → route diagnosis
iperf3 → sustained usable throughput
You get a complete truth readout of the link without touching Speedtest or any GUI.
If mtr or iperf3 aren’t installed, do this once:
If iperf3’s test server is ever unreachable (rare), swap in Cloudflare’s:
But the default one is rock solid.
If you want a version that logs automatically to a timestamped file for later analysis, I can package that too.
NOAA ? Online Readl time observatories
Low Frequency High Gain Amp Raw signal aprox 10 pV ... probbably too low to monitor with afforadable electronics.
https://www.altronics.com.au/p/k5528-currawong-2x10-watt-stereo-valve-amplifier-kit/
Made me an offer I cant remember - cuppla hundred bucks due water damage on the box. ..
Silicon Chip Online Issue - November 2014
Silicon Chip Online Issue - December 2014
I buy these to build the speakers with these drivers. First made in July 22.
DAEX58FP
Idea which I considered. A Pi Audio Hat
https://core-electronics.com.au/raspberry-pi-iqaudio-dac-pro-48159.html
SKU: CE07563
https://www.max2play.com/en/2016/01/raspberry-pi-zero-with-iqaudio-dac/ https://www.sparkfun.com/products/17738
Decided not to. It is too complicated to get the audio to it. Perhaps .wav files to get proper Hi Fi Audiophile cred? Not worth it.
FAULT : Both channels intermittently becoming quite and distorted.
When i tried to power the Wi Fi source from a USB source there was a huge hum so i just temporarily powered it off a battery pack. This time i should derive the Power from the 12 Volt DC heater line and that way there are no external earths.
The audio input needs to be wired to the in/out panel.
Fixed that and biffed out that horrible bluetooth
abomination i had and relpaced it with an automotive one.. Deriving the
12 volt from the heater voltages.
FAULT : The 330 Ohm 5 watt resistors are cooked.
I left out a link .. I did put a link on LK4 / 5 which complete the feedback loop presumably can remove them for testing. The links I left out are next to them.
https://www.diyaudio.com/community/threads/silicon-chip-mag-currawong-amp.264057/page-4?utm_source=chatgpt.com
24V EVE 230Ah 5.89kWh LiFePO4 Battery Pack Kit with Smart BMS
is installed and Running.
Step-by-Step Guide: Setting Up Your Daly BMS with LiFePO4 Oz
Fault : I had a flood which shut down the BMS. After it was dried out it worked again .. I blew up the 24 to 12 volt module probably by having 12 volt on the line but zero on the 24. Not fail safe - Beware.
The BMS also "forgets" the SOC and thinks it is 100 percent once it comes back up.
Recalibration is : Cell Characteristics > SCO Set to 50 percent.
Charge till 28 volts. (Not 28.6 - too high can be set Protection parameters >sum volt high protect).
SCO Set to 100Percent.
BMS Software Can run on Wine (wouldnt using Synaptic) or on Google / Apps Linux.
Some assert the pile should be restrained with threaded Rod or springs .. the kits supplier thinks it is unnecessary. If it were i would expect to see a spec in the Operating section. The Compression Spec is in the destructive batch testing section.
The construction of the battery pack will need to be researched. There needs to be some rigidity / compression in the pack because according to some, failing this the battery packs will swell during charge and this deformation will damage them.
Ref Page 19
Gives the dimensions of a test rig and then specifies the maximum pressure (swelling) the cell should exert to pass the test. I doesnt seem to refer to the design of a working battery pack.
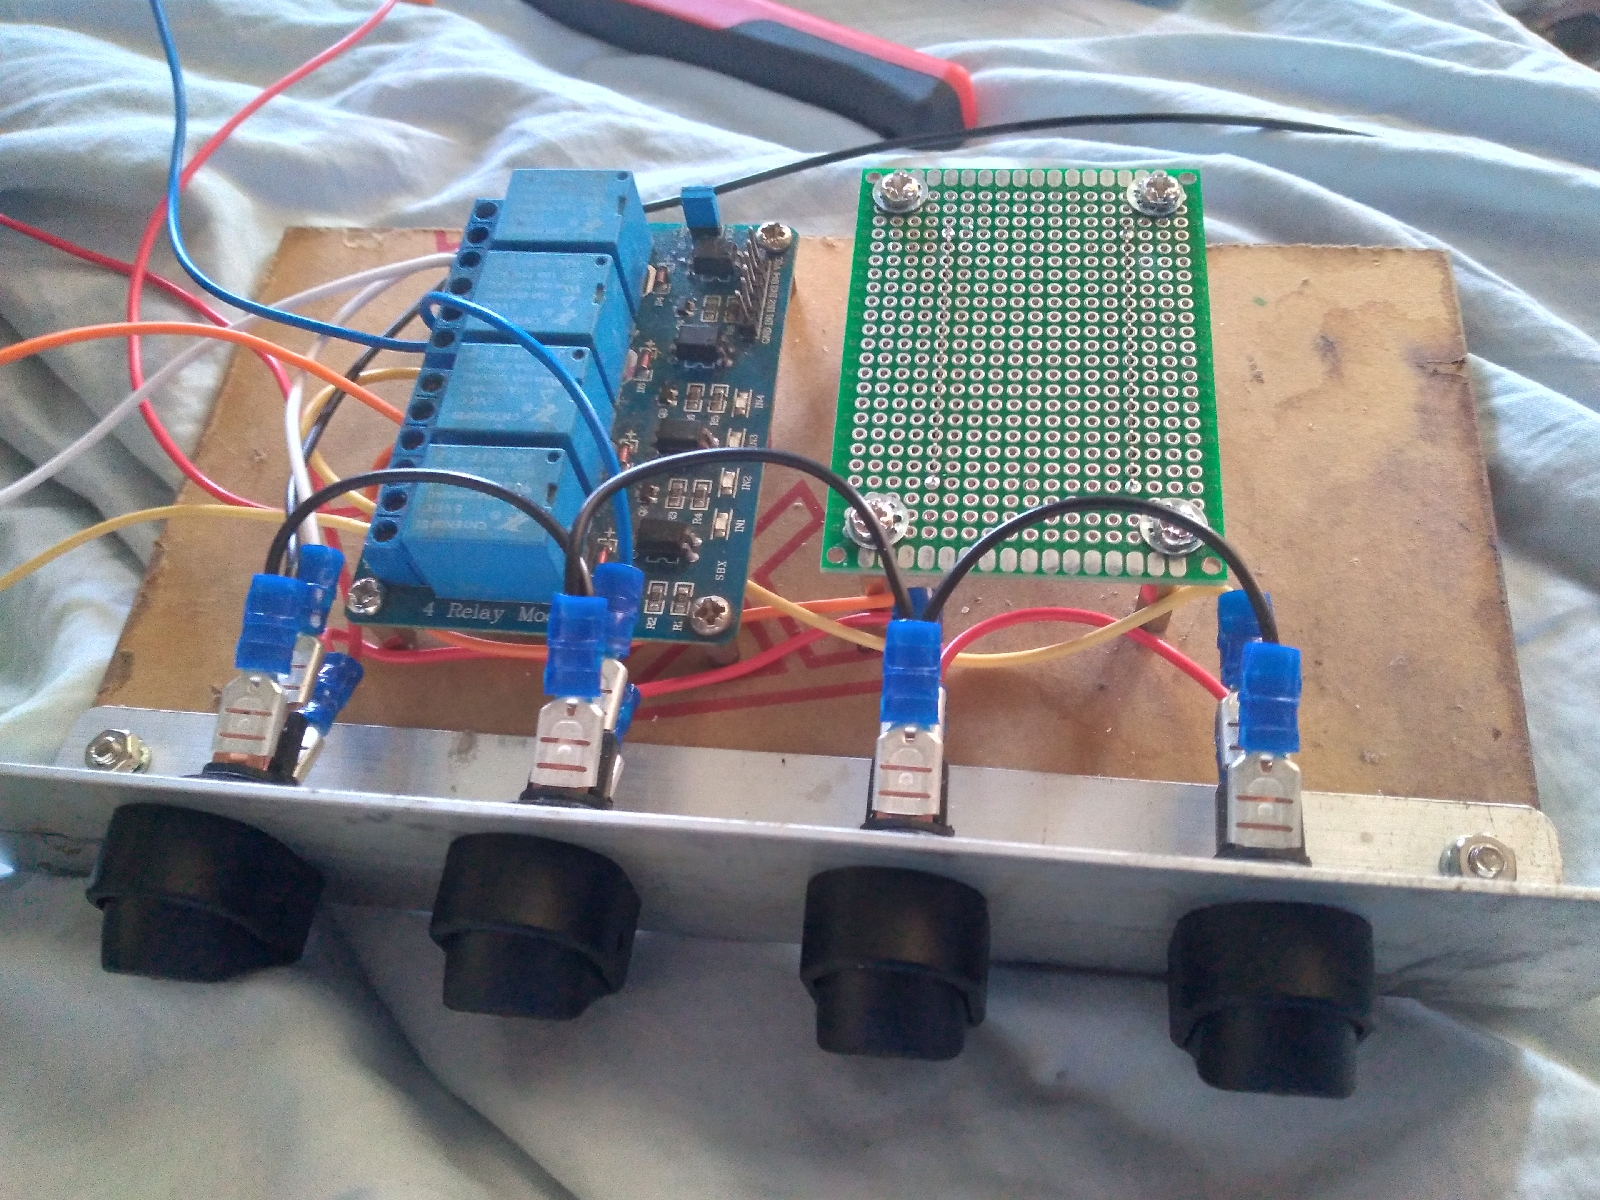
Ref : https://randomnerdtutorials.com/esp32-relay-module-ac-web-server/
Hacked the sketch to give three extra channels and set up a Node Red Interface ...
My ESP 32 based node on the Front Driver's side blew up when I hooked up a light to it and the light had an intermittant short. The ESP 32 just turns all the relays on. I am using it manually ATM.
Either the program is corrupted or the ESP 32 bricked. Either way amounts to much the same thing.
I also built a second controller to take care of the lights on the LHS of the truck.
I have also to install Arduino IDE on my NUC and get that running.
Everytime I do this I forget the steps involved.
Arduino IDE 2.0 Installation notes.
https://www.youtube.com/watch?v=pLrKYRsJ3Eo
https://github.com/TheAssassin/AppImageLauncher/releases
Error compiling "blink"
How to Solve Python ModuleNotFoundError: no module named ‘serial’
https://www.pythonreader.com/2022/08/itsmycode-modulenotfounderror-no-module_76.html
All 4 ESP32 upoaded the sketch, so the ESP 32 based node on the Front Driver's side was not "bricked" but the compiled sketch was corrupted.
I cant find the sketch anywhere so will probably have to rewrite it. :-(
https://www.electro-tech-online.com/threads/atom-diy-module.142530/
BOM / Altronics Equivalents - Dont appear to be any - the Zeners are all power supply types and the NPN Darlington is Vceo 100 Volts
Q2 : BC337
Q1 : 2SD1071 Silicon NPN Darlington Power Transistor
https://www.datasheetbank.com/2SD1071-Datasheet-PDF-Iscsemi
D1 : 15KE200A / IN6303A "MOSORB" 1500 Watt Mosorb™ Zener Transient Voltage Suppressors
https://www.datasheetbank.com/IN6303A-Datasheet-PDF-ON-Semiconductor
I was very happy with the centralized Pi based Smart Truck / openHAB architecture.
Alas leaky roofs and monsoons were too much for the system and I have been using paleolithic switches to turn my lights on and off.
I am planning a system that uses a headless Pi and remotely located ESPxx communicating using MQTT and node red.
It should be far more flexible. Involve a lot less copper and be much more tractable when it comes to custom applications. I dont care how pretty the UI is.
I started with a fresh install of Kubuntu 21.04. Ubuntu had been buggy and annoying whereas last time used Kubuntu it seemed a lot less cluttered. I want this project to be focused slow and thorough. The roof still leaks so the ceiling project must proceed accordingly but the electronics can be deployed prior.
Kunbuntu is being a bit naughty.
Connection is buggy - speed is fine but it keeps dropping out Deactivating and asking for the password. The password doesn't have to be reentered. Just click through. Going to try a slow Torrent to see if it is a workaround. Transmission isnt used in Kubuntu. Ktorrent is the client. It looks good but I haven't used it before.
Arduino IDE wont launch. Not just me apparently - reports of this from IDE 2.0. I dont know what version Discovery installs.
now..
Ktorrent wont launch. Ktorrent did launch as the application for the Kubuntu LTS download and I throttle it back to 100kBps (10 hour d/l) to see if the Network will stay active. So far so good after half an hour.
I will build this on the NUC.
error: /boot/vmlinuz-4.4.0-141-generic has invalid signature.
error: you need to load the kernel first.
On attempt boot from USB.
Disable Secure Boot.
BIOS on NUC -
Press F2 during boot to enter BIOS Setup.
Turned off secure boot Boot menu. - now displays Ubuntu Menu and them screen goes blank and activity on USB for a few seconds then hangs.
Will go on to boot off openSUS if the boot order is changed in the BIOS.
Ubuntu install just wouldn't. I chucked in the Kubuntu USB and it installed hitchless. I didnt opt for secure boot or third party software since this is supposed to be a strapped down development install.
So crazy so soon?


On my switch panel I am using the Jaycar SK0955 switch which I thought was SPDT and hence would have cause shorting problems trying to parallel it with the relay to give an OR type switching. I measured it and it wont. I should have read the maker's sheet. I have used a stupidly huge number of spades to get the wiring I needed. Mainly because I want to be able to disconnect each light separately. I will probably have to solder onto the tongues of the switches to get the relay tidily into the circuit.
Downloaded Raspbery Pi OS Lite ( fmrly Raspbian).
Wont instal Etcher - Make Startup Disk should work.
Scanned IPs;
IP: 192.168.1.101
Ping: 38 ms
Hostname: HP.local
Ports: [n/a]
IP: 192.168.1.103
Ping: 0 ms
Hostname: NUC
Ports: [n/a]
IP: 192.168.1.104
Ping: 2 ms
Hostname: raspberrypi.local
Ports: [n/a]
Enable SSH - created a ssh file in the boot sector of the SD card.
Enable WiFi.
Hardware :

GND Brown
GPIO 4 - IN1 Pin 4
GPIO 17 - IN2 6
GPIO 27 - IN3 7
GPIO 22 - IN4 8
GPIO 9 - IN5 11
GPIO 5 - IN6 15
GPIO 6 - IN7 16
GPIO 13 - IN8 17
VCC RED
Node Red Installed
http://192.168.1.105:1880
Add Node to Reboot / Shutdown
npm install node-red-contrib-rpi-shutdown
Add DHT22 Node
Fault ; The above method didnt give a temperature ... The output was "undefined" .. I removed the filter msg.payload = msg.temperature node and it worked. I lost interest trying to get the entire string ouput from the Pi. Dont want to get too far down in the weeds.

